Salesforce AppExchange is an online marketplace for third-party developers to create apps on Salesforce. There are innumerable apps and solutions available for customers’ implementation needs on the Salesforce AppExchange platforms.
The efficiency and ease of using Salesforce AppExchange is something to vouch for! It has been empowering larger teams, entrepreneurs as well as start-ups.
However, an accurate setup of your application is one crucial aspect that determines your success on Salesforce.
There are five essential steps involved to get started with AppExchange:
- Signing up to a Salesforce partner
- Building your Salesforce app
- AppExchange security review
- Designing the AppExchange listing
- Handling app license and customer service
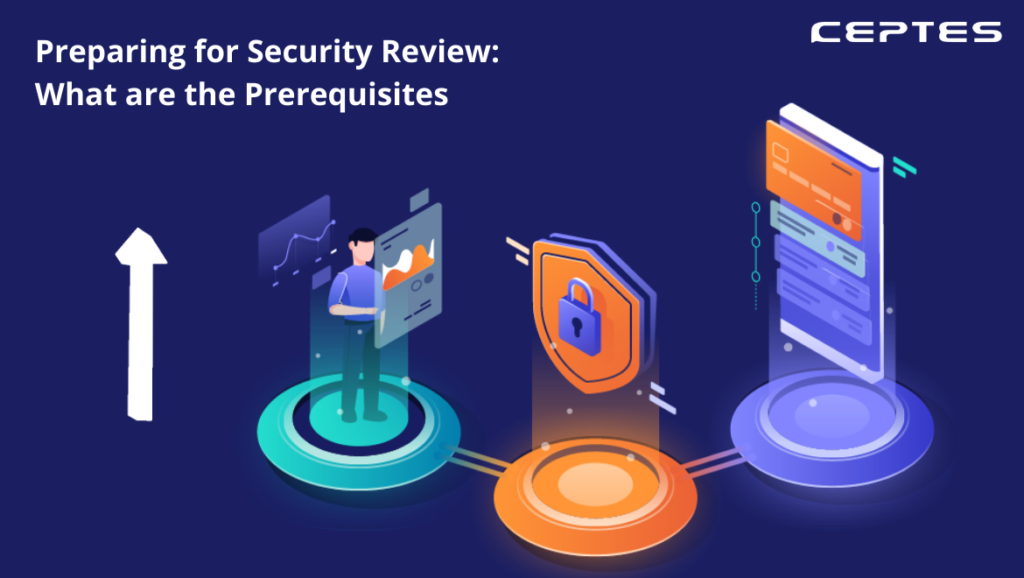
In this blog, we will talk about the AppExchange security review. From step by step guide to prerequisites and general tips to pass the AppExchange security review, we have covered it all! Ready? Let’s get started!
AppExchange Security Review: Overview
Before the launch of any product, it strictly gets reviewed by the Salesforce security review team. This part of the process is critical for the success of your product on AppExchange.
It is so because the ‘PASS’ stamp from Salesforce lets the users trust your product and feel assured that your solution follows all necessary security standards.
AppExchange security review consists of 4 steps:
- Prepare
- Test
- Free trial
- Launch
You should begin by reviewing the prerequisites of the AppExchange Security Review and make sure your app meets all the security standards laid by AppExchange. Next, pass the required Security Review which is meant to evaluate your app’s security features.
There is a free trial available which can be set prior to the launch of the app. After making sure your app meets all the guidelines, you can launch it on the App Store.
Let’s Dive Deeper!
Now that we have a basic understanding of the steps involved, let’s discuss them in detail.
First of all, you need to become a Salesforce partner and build your app for the platform.
- Begin by joining the Salesforce Partner Program and logging into the Partner Community
- Go through SPPA (Salesforce Partner Program Agreement) and agree to the terms and conditions
- Create a Lightning Ready Solution
- Make sure to spot and fix any security vulnerabilities with the help of Checkmarx scan during the development phase itself.
Collect all the needed documents.
Once you’re done with developing, assemble and organize all the necessary documents for the Security Review. Here is the list of documentation you will need:
- Solution Architecture documents including platform features, product overview, package details, and an overview of Integration and object model.
- Product documents such as personas acting in the system
- Documents for data flow between mobile, composite site, or Chrome extension and the Salesforce org.
- Demo org with seed data and managed package in it
- Managed package
- Burp/Chimera/ZAP scanned reports
- Checkmarx scanned reports
- Steps for user navigation in the Salesforce org, where the package is installed
What Else?
Finally, in order to get your business plan approved from Salesforce, you will be required to:
- Curate a solutions listing
- Upload your product and business information
- Upload compliance certifications
Voila, you can finally submit your listing for business approval now!
Security Review: Important Things To Keep In Mind
-
Include A Test Setup
When submitting your solution for security review, ensure providing a holistic test setup and guide for using it.
– In case your solution includes a native mobile app, add its installation link.
– Set up an instance for hosting in case you are integrating a web external accounting service.
Note: The most effective way out when deciding what needs to be provided is to consider the Security Review team as a potential customer that wants to test your solution.
-
Use of Scanners
The use of scanners such as Checkmarx and chimera can help you spot vulnerabilities in your solution at an initial state.
Checkmark is used when your solution has managed packages, Visualforce elements, or Apex code. It scans the solution that is hosted on the platform.
On the other hand, Chimera is used when your solution has parts based on other platforms that you control. It provides the best open-source scanning. -
Test Your Solution By Hacking It
Scanners are quite helpful but there is nothing like manpower. After you’re done with fixing the security issues you encounter, use human intelligence for thorough testing.
How can you do it? Attack your own solution, try stealing its data and check its security. All you need is a team of test hackers with the aim of getting unauthorized access to system or customer data. - A Case Of False Positives
A scanner may find a problem that isn’t really a problem in some cases. This is known as a false positive. It may occur when the scanner fails to recognize your method of protection or code that addresses some vulnerability.
In case you find an error like this, create a document explaining why it is a false positive and include it with your other security review documents. Make sure to be concise and specific. This will help everyone save some time!
Let’s Wrap Up!
The AppExchange security review process helps attain a safe, secure, threat-free, and more robust Salesforce platform.
Before submitting your app for security review, make sure you are well prepared. The AppExchange security review team goes deep while analyzing an app’s security features and so, you should be ready for the same!
At CEPTES, we provide top-notch services as Salesforce AppExchange product development partners. With years of experience in the industry, our team is well versed in the AppExchange security review process.
If you’re still wondering how to pass the security review, fret not. We are here to help you. Get in touch with us to discuss your concerns today!


